Showing posts with label paper flowers. Show all posts

Friday, October 28, 2011

Handmade Inspiration Board #2: Fall + Halloween

Hello, and Happy Friday! In celebration of Halloween weekend, I wanted to leave you with an inspiration board to help stir up some creativity for the festivities! I pulled together some great Halloween/fall images and embellishments to help get you in the mood! So enjoy, and whatever you're doing this weekend, please be safe! xo *wink*


Supplies Used; Patterned Paper- Crate Paper, Melissa Frances and Hambly Studios; Sitching Rub-On- K & Company Studio 112; Burlap Trim-Canvas Home Basics; Paper Flowers & Crocheted Flowers- Prima; Pocket Holder- Ki Memories; Mix Tape- American Crafts; Buttons, Ribbon & Embroidery Thread- Other

Images Used;  
Halloween Bunting- Craft Zine
Crocheted web- Betz White 
Dining room setup- Country Living 
Pumpkin Garland- Martha Stewart 
Trick or Treat boxes- BrownPaper Packages 
Rhinestone Pumpkin- Better Homes & Gardens 

(Photos of inspiration board by; Wahkuna)

Wednesday, January 19, 2011

A diamond in the rough...

 Living in a bustling city like New York definitely has it's pros, like the fact that you can always order-in no matter how late (or early) it is. The nearest "Bodega" or (corner store as we call it), is never further than your nearest corner, for all of those household emergencies, at any hour. But most importantly the best shopping & inspiration you'll find around. I love to wonder the streets of NYC in search of a new gem, a place that is bursting with culture and history. A place like Tinsel Trading Company! This store is one of THEE places to visit for vintage trims, treasures and notions! It's unbelievable and the story behind it is even better. Check out the book dedicated to the finds from this lovely place and if you're ever in the area (37th St. between 5th & 6th ave.) stop in for endless inspiration and lots of new possibilities! It's a crafter's oasis!


I've heard that this shop is one of Martha Stewart's favorite places...and I can totally understand why. I'm so very thankful that my job is literally down the street and around the corner. If I'm in the mood for an inspiring lunch break, I just walk on over and I'm in paradise! :-)


(Images; vintage spools of thread-www.suchprettythings.typepad.com; outside image of shop-www.knityoursocksoff.blogspot.com; flowers-www.colettepatterns.com; book-french general  )

Tuesday, June 29, 2010

Bat Mitzvah Surprise

Good Evening All!

I hope most of you have had the chance to enjoy the beginning of the summer! I just came back from a trip to Miami for my cousin's bachelorette party! It was a blast and I'm really glad I went! I will have to post a few pictures from the festivities soon...

Today I thought I would share some pictures of a large collage that I made for a colleague of mine. She had her daughter's Bat Mitzvah this past May and wanted a keepsake that would be on display during the party and then kept in a shadowbox frame as a momento for years to come. She provided the color story (bright purple, hot pink & lime green) and also a bunch of personal pictures and childhood ephemera. I gathered all things crafty such as; the rub-ons, stickers, patterned papers, flower embellishments, gator board, etc. It was a big hit at the party and a pleasure to create! I definitely look forward to creating more in the future.

Monday, March 8, 2010

Sweet Pea

Supplies; 5x7 Blank Greetings Card- Paperbilities; Patterned Paper- Making Memories, Chloe's Closet (orange polk-a-dot), Animal Crackers (ella giraffes); Buttons & Paper Flower- Making Memories, Animal Crackers (ella embellishments kit); Crochet Lace; Textured Velvet Ribbon; Brads- Pink Star; Textured Cardstock- DCWV; Stamp- Sweet Pea; Colored Pencils- Prismacolor; Distressing Ink; Tim Holtz (pumice stone)


Happy Monday all! It was a gorgeous day out today in NY (too bad I spent it indoors, as usual *frown*). Anyway, I hope most of you were able to get out and enjoy the day and capture some beautiful moments!

Today I would like to share the most recent card that I made. I've been in the card making mood lately. I've decided they take less time than LOs (for me anyway), depending on your style and they are quite fun to create (the best part about them is you don't have to have pictures *smile*). This card was one that I made for a friend at work who's baby shower we had on Friday! The shower was really sweet, we had lots of goodies, even a chocolate fondue fountain and mom-to-be was SUPER surprised, she had NO idea!!! It was a great time!

Here is how to create this baby card;

Step 1; Cut the Polk-a-dot cardstock and mount it to the front of a 5x7 blank greetings card.

Step 2; Cut the baby giraffe patterned paper to cover about 1/2 of the card and adhere to front of card. Ink all around the outside edges (for a distressed look).

Step 3; Use a tag stencil to create the blue tag, and a star stencil to create the ivory tag and ink the edges of both (for a distressed look). Punch a hole in the tag to insert the star brad and stamp the Sweet Pea sentiment to the star.

Step 4; Add color to the Sweet Pea stamped image using colored pencils and adhere the star to the blue tag, then mount both to the side edge of the card with foam squares to create a 3D effect.

Step 5; Thread embroidery floss through the holes in both buttons and tie them in the front (to create a homespun look). Then adhere buttons to the card using a glue gun.

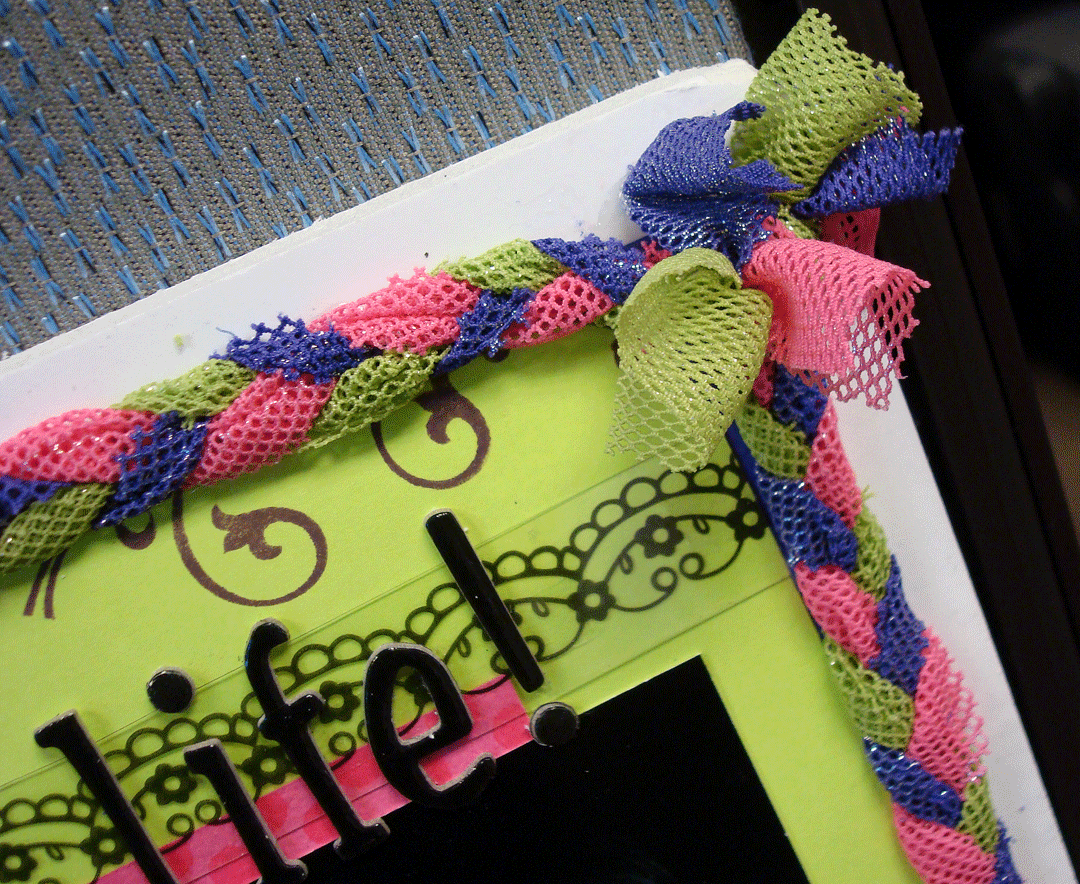
Step 6; Cut crochet lace and textured velvet the full width of the card and use as a border at top. Lay the velvet ribbon ontop the lace and attached with adhesive.

Step 7; Lastly attach the flower with button center to the front top side of the card for the finishing touch!

Hope these instructions are helpful so that you too can create a sweet baby card like this one! Happy crafting!! *smile*


LinkWithin

Related Posts with Thumbnails